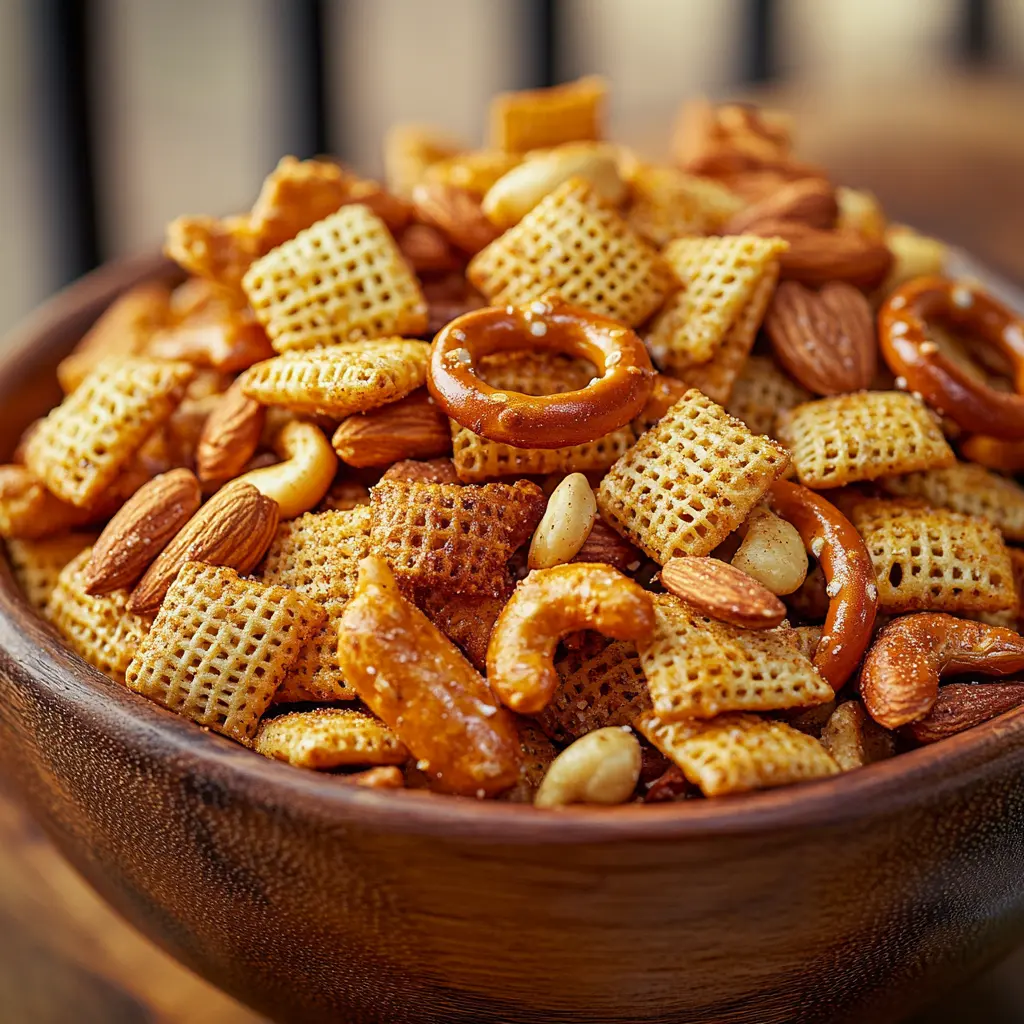
It all started on a chilly fall evening. The windows fogged with warmth from the oven, and the house smelled like toasted spices and melted butter. My kids had just gotten home from school, tossing backpacks and asking the same question they do every day—“What’s for snack?” I smiled and pulled out a tray of our family’s secret weapon: a homemade Chex Mix recipe oven-baked to perfection.
There’s something nostalgic about the crackle of that first handful, the mix of savory spices, the crunch of toasted cereals, and the salty kick from pretzels and nuts. It reminds me of childhood movie nights, crowded holiday tables, and afternoons with grandma at the stove—coating cereal with melted butter and her well-worn bottle of Worcestershire sauce.
This isn’t just a snack—it’s a tradition. And while there are quicker ways to make it (yes, I’ve tried the microwave method), nothing compares to the flavor that slow oven-baking brings out. Oven baking gives this Chex Mix its signature toastiness and satisfying crunch—bite after bite.
In this guide, I’ll walk you through the exact Chex Mix recipe oven style that my family has passed down through generations. Whether you’re prepping for a holiday party, planning a cozy movie night, or simply looking for a flavorful snack that lasts, you’re in the right place.
Let’s fire up that oven and get ready to turn a few simple ingredients into something unforgettable.
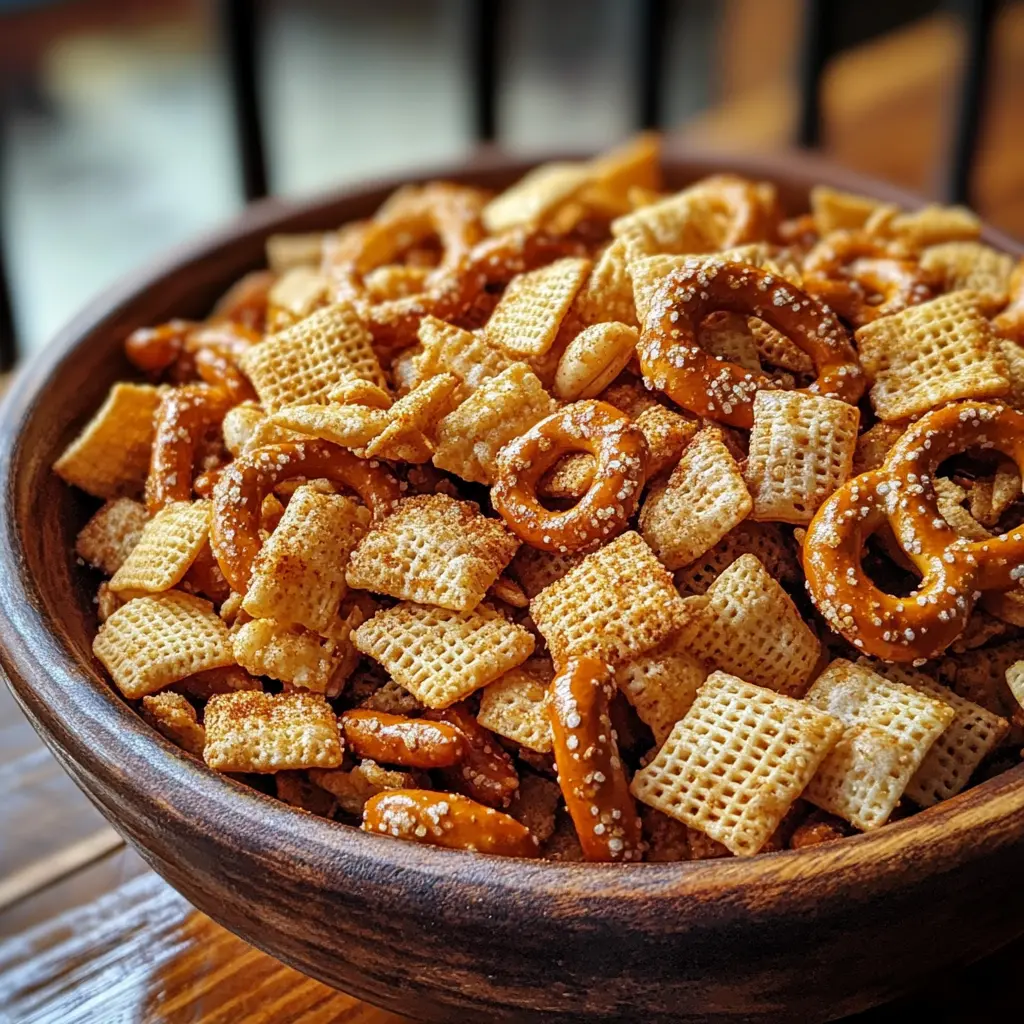
Chex Mix Recipe Oven
Ingredients
Equipment
Method
- Preheat oven to 250°F. In a large bowl, combine Rice Chex, Corn Chex, Wheat Chex, pretzels, nuts, and bagel chips.
- Melt the butter in a saucepan or microwave-safe bowl. Stir in Worcestershire sauce, garlic powder, onion powder, paprika, and seasoned salt until well combined.
- Slowly pour the seasoned butter over the dry mix, stirring gently to coat all pieces evenly without crushing them.
- Spread the coated mix onto a large rimmed baking sheet in a single layer.
- Bake for 1 hour, stirring every 15 minutes to ensure even toasting and seasoning distribution.
- Remove from oven and spread on parchment paper or paper towels to cool completely before storing or serving.
Nutrition
Notes
Tried this recipe?
Let us know how it was!What Is Chex Mix Recipe Oven and Why It’s So Popular
A Classic Snack Reimagined
Chex Mix has come a long way since its early days on the back of cereal boxes. It’s no longer just a party mix—today, it’s a household staple for families, students, and snack lovers of all kinds. The chex mix recipe oven version elevates this humble snack by transforming everyday ingredients into a flavorful, crispy masterpiece.
Unlike store-bought options filled with preservatives and artificial flavors, homemade Chex Mix gives you full control. You decide the ingredients, the seasoning blend, and how long it bakes. That control leads to better flavor, better crunch, and a snack that everyone raves about.
The Power of Oven Baking
So, what makes the oven version so special? Simply put—the heat, the time, and the texture. Slow baking at a low temperature allows each piece to crisp evenly while the butter-soaked spices caramelize slightly, giving the mix a golden hue and deep flavor.
Compare this to microwave or skillet versions, and the differences are clear. Quick methods might save time, but they rarely achieve the same toasty depth or crisp texture. Plus, there’s something deeply satisfying about the aroma that fills your kitchen as the mix bakes. It’s comforting, familiar, and just a little bit nostalgic.
A Versatile Favorite for Every Occasion
One reason this chex mix recipe oven is so beloved is its flexibility. Hosting a birthday party? Add candy-coated chocolates or mini marshmallows. Want something savory for game night? Toss in some cheese crackers and hot sauce. You can make it gluten-free, vegan, spicy, sweet—you name it.
The base ingredients—Chex cereal, pretzels, nuts, and bagel chips—act like a blank canvas. Seasonings bring them to life, and oven baking locks in the magic. Whether you’re snacking solo or sharing with a crowd, the result is always satisfying.
Check out our Smoked Meatloaf Recipe if you’re craving more bold, oven-baked flavor ideas.
Backed by Science and Nostalgia
According to the Food and Drug Administration (FDA), using approved food additives like Worcestershire sauce, onion powder, and garlic powder adds both safety and flavor to your recipes. And as every seasoned home cook knows, flavor is memory—each bite of homemade Chex Mix Recipe Oven brings a bit of the past into the present.
Essential Ingredients for the Best Chex Mix Recipe Oven
Building the Perfect Chex Base
The foundation of every great chex mix recipe oven starts with the right mix of cereals. A blend of Rice Chex, Corn Chex, and Wheat Chex gives the snack its signature light, crispy texture. Each variety offers a unique flavor and crunch, and together they provide the balance you need.
Don’t worry if you only have two types—flexibility is part of the recipe’s charm. Even off-brand cereals can work well in a pinch, as long as they maintain structure under heat.
Crunchy Add-Ins That Elevate the Mix
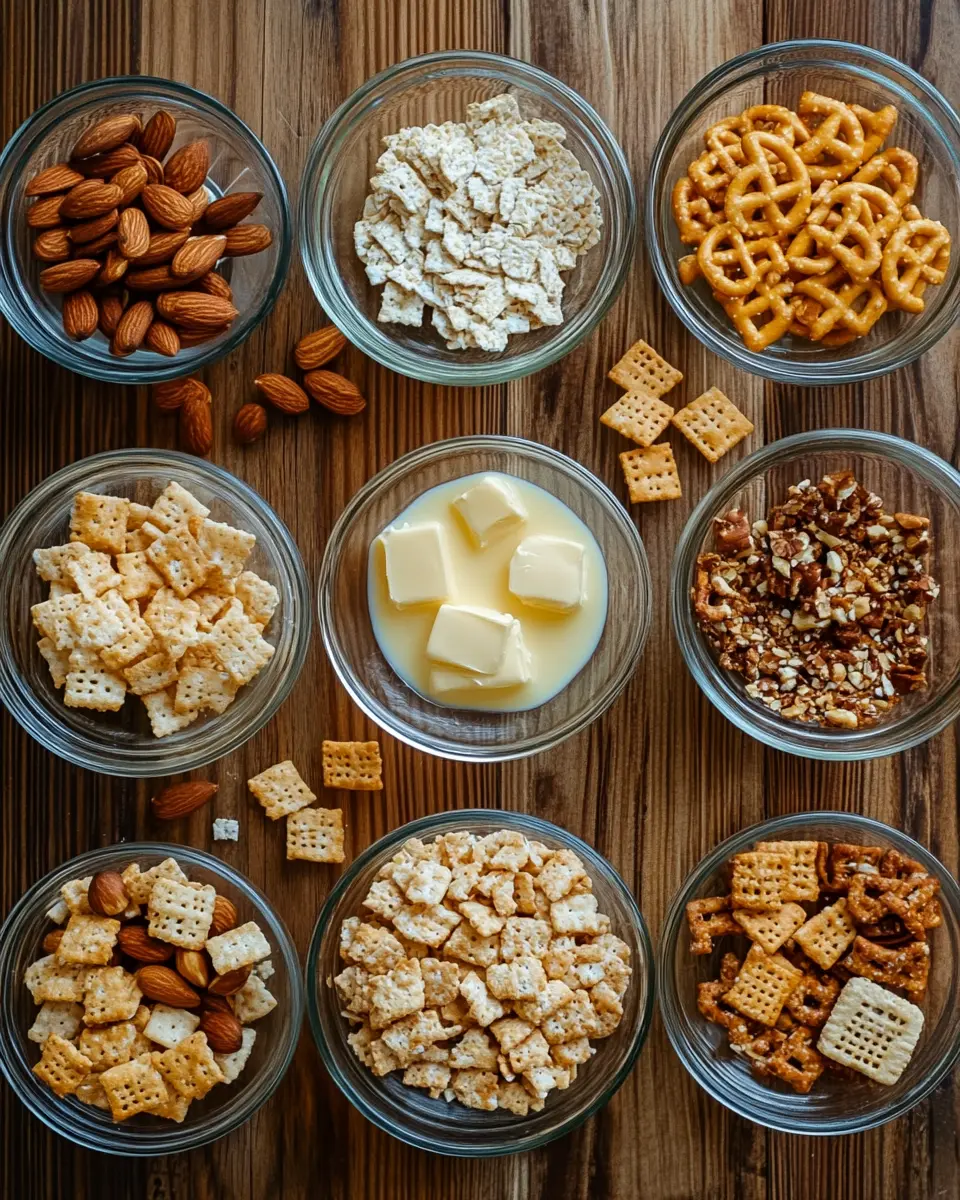
Beyond the cereal, it’s the extras that take this snack from basic to unforgettable. Mini pretzels add a salty bite, mixed nuts contribute a buttery crunch, and bagel chips or rye crisps offer a deep, hearty texture that toasts beautifully in the oven.
Want even more variation? Add cheese crackers, roasted chickpeas, or even a handful of popcorn for a lighter touch. These additions give the mix depth and mouthfeel that satisfy all kinds of snackers.
Learn more about building irresistible textures in our Fish Fry Seasoning Guide.
Flavor Boosters: The Signature Seasoning Blend
Here’s where the real flavor happens: the seasoning sauce. To prepare it, melt butter and stir in Worcestershire sauce, garlic powder, onion powder, and paprika. This combination adds layers of savory richness with just the right hint of spice.
If you’re someone who enjoys a little kick, you can stir in cayenne pepper or a few drops of hot sauce for a bold finish. A pinch of seasoned salt ties it all together and helps ingredients stay deliciously balanced.
Dietary-Friendly Ingredient Variations
The best part about this oven-baked snack? You can adapt it for nearly every diet. Try gluten-free cereals and pretzels for a celiac-friendly version. For plant-based eaters, substitute regular butter with vegan butter or olive oil. And for nut-free homes, sunflower seeds, roasted chickpeas, or pumpkin seeds offer texture without the allergens.
A Quick Snapshot: Ingredient Table
| Category | Ingredients |
|---|---|
| Base Cereals | Rice Chex, Corn Chex, Wheat Chex |
| Crunch Add-Ins | Pretzels, Mixed Nuts, Bagel Chips, Cheese Crackers |
| Seasoning Blend | Butter, Worcestershire, Garlic & Onion Powder, Salt |
| Optional Spices | Cayenne, Paprika, Hot Sauce |
| Dietary Substitutes | GF Pretzels, Vegan Butter, Chickpeas, Seeds |
These ingredients are easy to find, budget-friendly, and endlessly customizable. Once you gather your mix-ins and whip up your seasoning, you’re just a few steps away from creating snack perfection.
Preparing Chex Mix for Oven Baking Like a Pro
Step-by-Step Instructions for Success
Making the best chex mix recipe oven starts with the right prep. Begin by preheating your oven to 250°F—low and slow is the key here. Grab your largest mixing bowl and add your dry ingredients: the Chex cereals, pretzels, nuts, and whatever other crunchy add-ins you love.
Next, in a separate microwave-safe bowl or small saucepan, melt the butter. Stir in your seasoning blend: Worcestershire sauce, garlic powder, onion powder, paprika, and seasoned salt. Mix thoroughly to ensure even flavor distribution.
Pour the warm butter mixture slowly over your dry ingredients. Using a large spoon—or your hands if you’re feeling bold—toss everything gently. Your goal is to coat every piece evenly without crushing the cereal.
Don’t miss our Ultimate Hotcake Mix Recipe for more buttery, crowd-pleasing snack inspiration.
Common Mistakes to Avoid
Even though this chex mix recipe oven is simple, a few easy missteps can ruin the results:
- Too much butter or seasoning: Over-saturating your mix may lead to soggy pieces.
- Skipping the stir: Stirring is vital during baking; otherwise, some bits will burn while others stay soft.
- Crowded pans: If the ingredients overlap too much, they won’t toast evenly.
Instead, use two baking sheets if needed. Spread the mix out in a single layer so the hot air can circulate and work its magic.
Tools That Make a Difference
Want consistent results? Use a large roasting pan or rimmed baking sheet. These keep everything contained during tossing and stirring. Plus, they make cleanup much easier.
Lining your sheet with parchment paper can help prevent sticking while allowing airflow underneath the mix for even crisping.
Pro Tips to Elevate Your Batch
Here’s where we take your Chex Mix Recipe Oven to pro status:
- Stir every 15–20 minutes while baking. This ensures even coating and perfect browning.
- Batch baking: Making a double batch? Bake in rounds instead of one giant tray to avoid uneven results.
- Add-ins after baking: Sweet mix-ins like chocolate candies or yogurt raisins should go in after baking and cooling—never before.
These small steps make a big difference. And when your house starts smelling like buttery spice and toasted cereal, you’ll know it’s worth the effort.
PART 4: Baking and Cooling the Chex Mix Recipe Oven to Perfection
The Ideal Temperature for Chex Mix Recipe Oven
The secret to a crispy, evenly toasted chex mix recipe oven lies in low heat and patience. Preheat your oven to 250°F—not a degree higher. This gentle heat gives every ingredient time to absorb the seasoning and develop a golden crunch without burning.
Once you’ve coated your dry mix with the buttery spice blend, spread it out on a large rimmed baking sheet or roasting pan. Make sure everything sits in a single layer. This step is key to achieving that crave-worthy crispness from edge to edge.
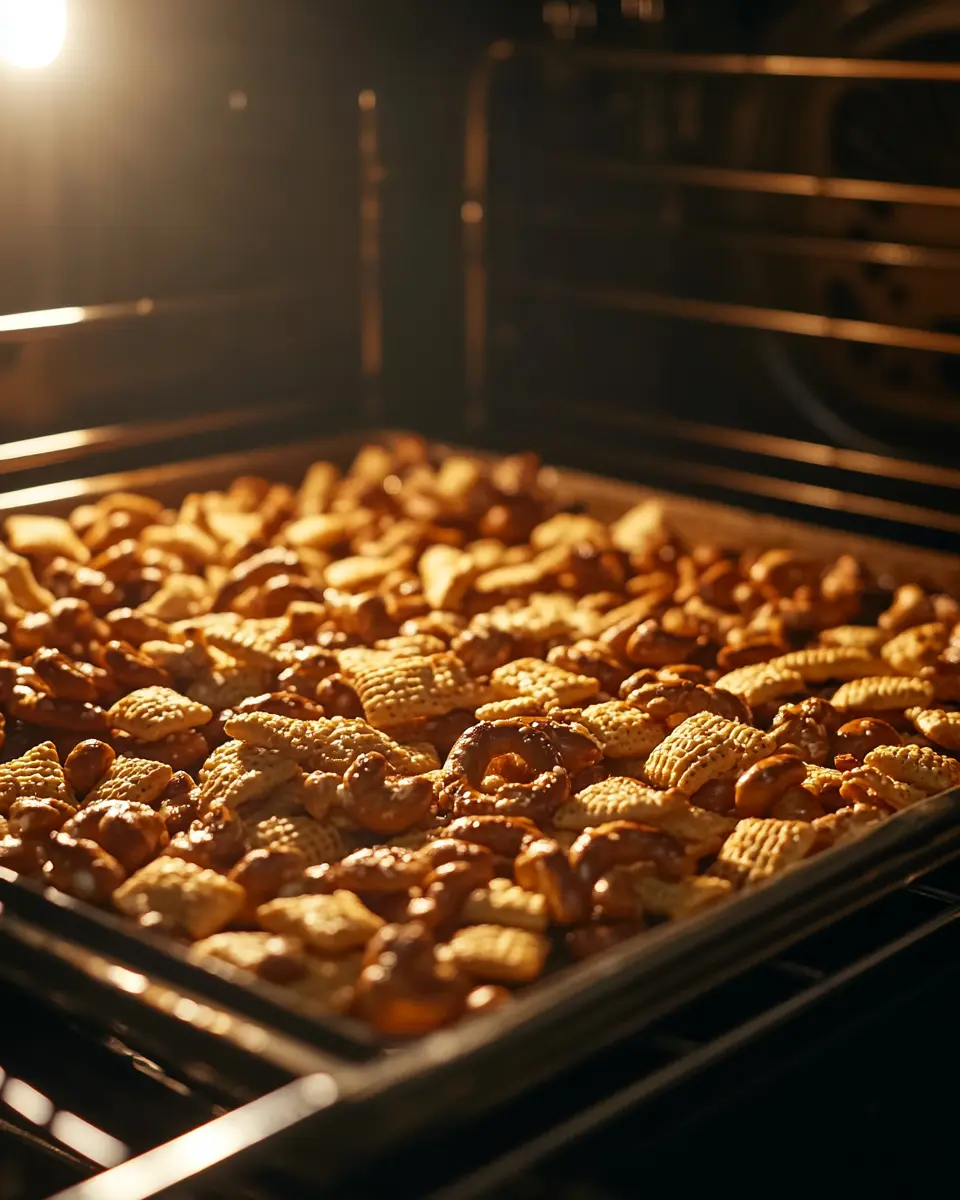
How Long Should You Bake Chex Mix Recipe Oven?
Bake the mix for one full hour, stirring every 15 minutes. This step may seem excessive, but skipping it is one of the biggest mistakes you can make. Stirring redistributes the seasoning, prevents scorching, and ensures every bite is perfectly toasted.
Each time you open the oven, your kitchen will fill with the scent of savory spices. The smell alone is enough to make you hungry—and it’s a clear sign you’re doing it right.
Stirring and Monitoring for Even Cooking
Use a wooden spoon or heat-safe spatula to gently toss the mix while it bakes. Be especially mindful of the edges—ingredients there tend to brown faster. If you’re using two trays, rotate them between racks at the halfway mark to ensure even baking.
If you’re experimenting with different add-ins or batch sizes, keep an eye on the color and smell. The mix should be lightly browned—not dark or brittle.
How to Cool It Without Losing the Crunch
Once the hour is up, remove the tray from the oven and immediately spread the mix onto parchment paper or paper towels. Let it cool in a single layer. This helps drain any excess butter and locks in that fresh-from-the-oven texture.
Avoid piling it into a bowl too early. Even a little trapped steam can make the mix soggy. Cooling properly is just as important as baking—it preserves the texture you worked hard to achieve.
Quick Reference Table: Baking and Cooling Essentials
| Step | Details |
|---|---|
| Oven Temp | 250°F |
| Bake Time | 1 hour |
| Stir Frequency | Every 15 minutes |
| Cooling Method | Spread on paper/parchment in a single layer |
| Pro Tip | Rotate trays halfway for even toasting |
Don’t miss our Onion Boil Recipe for another simple method that highlights the power of oven-based flavor layering.
With this part done, your Chex Mix Recipe Oven is golden, crisp, and full of flavor. Now it’s time to learn how to keep it fresh and share it creatively.
Storing and Serving Your Chex Mix Recipe Oven with Style
Best Practices for Storing Homemade Chex Mix Recipe Oven
You’ve baked the perfect chex mix recipe oven—now let’s make sure it stays that way. Once fully cooled, transfer the mix into an airtight container or resealable zip-top bag. Keep it in a cool, dry spot—like a pantry or cupboard—and your mix will stay fresh and crispy for up to two weeks.
For long-term storage, Chex Mix actually freezes beautifully. Just divide it into smaller freezer-safe bags or containers. When you’re ready to snack, let it come back to room temperature on the counter. No reheating required!
How to Avoid Sogginess
Moisture is the enemy of a great Chex Mix Recipe Oven. Avoid storing it in the fridge—condensation can soften your crispy ingredients. Also, don’t seal it up before it’s fully cooled. Even a little trapped steam can ruin the texture.
If you’re in a humid climate, consider slipping a food-safe silica gel pack into the container to help absorb moisture.
Creative Serving Ideas for Every Occasion
Chex Mix Recipe Oven isn’t just a snack—it’s a party essential. Serve it in a big bowl during game night or movie marathons. For parties or potlucks, portion it into small cups or mini treat bags for easy grabbing.
Want something a little more special? Try layering it into mason jars and tying on a ribbon. Add a label or tag for a festive, ready-to-gift treat that feels thoughtful and handmade. This is a perfect edible gift during the holidays.
According to the U.S. Department of Agriculture (USDA), homemade food gifts from the kitchen—like Chex Mix—are a sustainable and personal alternative to store-bought items. Plus, they let you control what goes into every batch.
Custom Mix-Ins for Gifting Themes
Create themed Chex Mix Recipe Oven gifts with your own twist. Here are a few ideas:
| Occasion | Mix-In Ideas |
|---|---|
| Holiday Season | Red & green chocolate candies, dried cranberries |
| Birthday Parties | Rainbow sprinkles, mini marshmallows |
| Game Day | Cheese crackers, spicy jalapeño pretzels |
| Fall Gatherings | Pumpkin seeds, maple-flavored cereal pieces |
These extras not only enhance the flavor but also make your mix visually festive and event-appropriate.
Take It on the Go
Homemade Chex Mix Recipe Oven is the ultimate portable snack. Pack it for lunchboxes, road trips, or afternoon cravings at work. It’s non-messy, satisfying, and holds up well—even in a backpack or tote.
Creative Add-Ons for Your Chex Mix Recipe Oven
Sweet Additions to Satisfy Your Cravings
If you’ve got a sweet tooth, there’s no need to hold back—your chex mix recipe oven can become a dessert-inspired snack with just a few tweaks. After baking and completely cooling the mix, stir in your favorite sweet extras.
Popular sweet add-ons include:
- Chocolate candies (M&M’s, mini peanut butter cups)
- White chocolate chips
- Yogurt-covered raisins
- Mini marshmallows
- Coconut flakes
- Caramel bits
Timing is crucial here. Always wait until the mix is fully cooled before adding chocolate or other meltables to avoid sticky clumps.
Want to take it a step further? Drizzle your cooled mix with melted white chocolate or caramel, then let it harden on parchment paper before serving. Add sprinkles or edible glitter for holiday sparkle or themed parties.
Festive Presentation Ideas Chex Mix Recipe Oven
For parties, holidays, or gifting, dress up your sweet Chex Mix Recipe Oven with:
| Presentation Idea | Tips |
|---|---|
| Mason jars with ribbon | Add a tag with mix name & flavor theme |
| Holiday-themed treat bags | Use colored twist ties or washi tape closures |
| DIY snack boxes | Include a mix of sweet, salty, and spicy flavors |
Don’t miss our cozy, fall-ready Pumpkin Dump Cake Recipe, which pairs perfectly with sweet-style Chex Mix on dessert tables.
Savory Twists for Bold Flavor
Not everyone’s into sweet—so if you’re craving something salty or spicy, these savory add-ins will elevate your mix without overpowering the base.
Try these bold additions:
- Parmesan crisps or cheddar crackers
- Roasted chickpeas or spiced edamame
- Taco seasoning or ranch dressing mix
- Smoked almonds or jalapeño-flavored pretzels
- Crispy bacon bits (for non-vegetarian versions)
- Everything bagel seasoning for a savory punch
These flavors blend perfectly with the buttery, spiced base of a classic chex mix recipe oven. Just sprinkle them in before or after baking, depending on how heat-sensitive they are.
Add Heat for Spice Lovers
If your crowd leans toward bold snacks, consider turning up the spice:
| Spicy Add-On | When to Add |
|---|---|
| Cayenne or chili powder | Mix into seasoning |
| Hot sauce | Stir into melted butter |
| Wasabi peas | Add after baking |
| Crushed red pepper flakes | Sprinkle post-baking |
Make sure to balance heat with saltiness or sweetness so the spice doesn’t overpower the mix. You can even make multiple flavor zones on one sheet—mild on one side, spicy on the other
Share Your Homemade Chex Mix Recipe Oven Creations
Why Sharing Chex Mix Recipe Oven Brings People Together
There’s something heartwarming about giving a snack you made by hand. A freshly baked batch of chex mix recipe oven is more than a crunchy treat—it’s a gesture of care, nostalgia, and creativity.
Whether you’re dropping off snack jars at a neighbor’s porch, assembling party favors for a school event, or setting out bowls during family game night, Chex Mix brings people together. It’s universally loved, incredibly versatile, and makes everyone feel like they’re home.
Perfect for Gifting During the Holidays

Homemade snacks are trending as thoughtful, low-cost gifts—and Chex Mix checks all the boxes. It’s easy to make in large batches, stores well, and can be personalized to fit the occasion.
According to the USDA, giving homemade food gifts helps reduce consumer waste and adds a personal touch that store-bought items simply can’t match. Pair your snack with a custom tag and festive wrapping, and you’ve got a standout gift that’s budget-friendly and heartfelt.
Here are a few presentation ideas for gifting Chex Mix Recipe Oven :
| Gift Type | Presentation Style |
|---|---|
| Teacher/neighbor gifts | Small mason jars with chalkboard labels |
| Party favors | Mini treat bags tied with twine |
| Office holiday gifts | Brown paper lunch sacks folded and sealed |
| Hostess thank-you gifts | Decorative tins or upcycled tea canisters |
FAQs about Chex Mix Recipe Oven
1. How long do I cook Chex Mix in the oven?
To cook Chex Mix in the oven, bake it at 250°F for 1 hour, stirring every 15 minutes. This slow-roast technique allows the butter and seasonings to soak into the ingredients while creating that signature golden crunch. Overbaking can dry out the mix, while underbaking can lead to soggy results, so stick to the hour for best texture.
2. Why is my Chex Mix not crispy?
If your Chex Mix isn’t crispy, there are a few common culprits:
You may have added too much butter, oversaturating the cereal.
The mix might not have cooled fully in a single layer, trapping moisture.
You may have crowded the baking sheet, causing uneven toasting.
To fix this, spread your mix thin, bake it slowly, and let it cool completely before storing.
3. Is Chex Mix better in the oven or microwave?
While the microwave is quicker, the oven method is hands-down better for flavor and texture. Oven baking allows for even toasting, deeper seasoning absorption, and a rich aroma that microwaving just can’t match. The chex mix recipe oven also stays crisp longer and doesn’t suffer from the uneven cooking that microwaves often cause.
4. How long does homemade Chex Mix keep?
Homemade Chex Mix lasts up to 2 weeks when stored in an airtight container at room temperature. For longer storage, you can freeze it for up to 3 months—just be sure it’s cooled and completely dry before sealing. Always avoid storing in the fridge, which can introduce unwanted moisture and reduce crunch.
5. Is it cheaper to buy Chex Mix or make your own?
In most cases, it’s cheaper to make your own Chex Mix, especially when buying ingredients in bulk. More importantly, homemade Chex Mix gives you full control over ingredients, flavor, and portion size. Plus, the oven-baked version tastes fresher, is more customizable, and often contains fewer preservatives than store-bought brands.
Conclusion – Mastering the Chex Mix Recipe Oven
Recap: The Keys to Chex Mix Success
At this point, you’re no longer just snacking—you’re crafting something memorable. Whether it’s for a quiet night in or a festive gathering, a chex mix recipe oven delivers the ideal balance of flavor, crunch, and creativity.
Let’s quickly revisit what makes your oven-baked Chex Mix stand out:
- Start with quality base ingredients: Rice, Corn, and Wheat Chex form a solid foundation.
- Use bold, buttery seasoning: Worcestershire, garlic, onion, and paprika add classic flavor.
- Bake low and slow: 250°F for an hour, with stirring every 15 minutes, locks in the crisp.
- Cool it properly: Spread it out, let it breathe, and avoid soggy surprises.
- Store smartly: Airtight containers = long-lasting crunch.
- Customize creatively: Sweet, savory, spicy—make it your own.
- Share joyfully: Homemade gifts never go out of style.
With these tips in hand, you’re ready to bake a batch that’s way better than store-bought—and 100% tailored to your taste.
Why Homemade Chex Mix Recipe Oven is Always Worth It
You could grab a bag off the shelf at the store. But that mix won’t carry the same comfort, aroma, or flavor as the one that just came out of your oven. Making Chex Mix from scratch means fewer additives, more satisfaction, and a whole lot more fun.
Whether you follow the recipe to a T or reinvent it with bold add-ins and spicy kicks, your chex mix recipe oven becomes your own. And once you taste it? You’ll never go back to pre-packaged.
Time to Fire Up the Oven
Don’t wait for the holidays to try this—gather your ingredients, warm up your oven, and make your kitchen smell amazing. If you’re looking for a fun, flavorful, and totally customizable snack, this recipe is it.
Make it. Share it. Love it. Repeat.

